
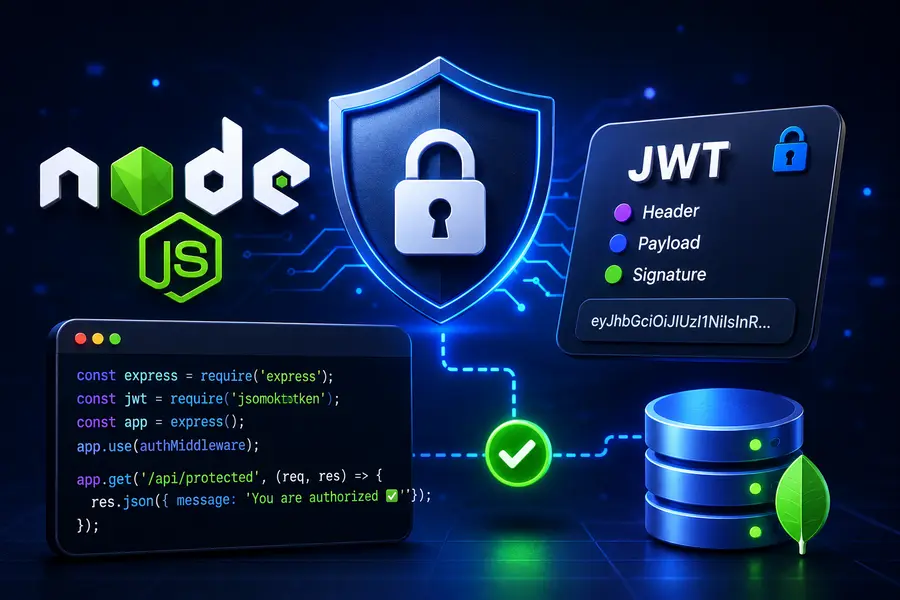
Secure Node.js APIs with JWT Authentication
Modern REST APIs cannot remain completely public and unprotected.
Applications need authentication systems to identify users and authorize secure actions like creating posts, updating data, or deleting resources.
The most popular solution for stateless authentication in modern APIs is JWT authentication.
What is JWT?
JWT stands for JSON Web Token.
It is a compact token format used to securely transmit user identity information between the client and the server.
Instead of storing sessions on the server, JWT keeps authentication stateless.
Why Stateless Authentication Matters
Traditional session-based authentication stores user sessions directly on the server.
This creates scalability limitations because servers must remember every connected user.
JWT solves this problem by storing authentication data inside signed tokens.
How JWT Works
- User logs in using email and password
- Server validates credentials
- Server generates a signed JWT token
- Client stores the token
- Client sends the token with every protected request
The server verifies the token signature without storing session data.
JWT Structure
A JWT token contains three parts:
- Header
- Payload
- Signature
The payload usually contains user information such as:
{
    id: user._id,
    isAdmin: false
}
The signature protects the token from tampering.
Installing Required Packages
npm install bcryptjs jsonwebtoken
These packages provide:
- bcryptjs → Password hashing
- jsonwebtoken → JWT generation and verification
Password Hashing with bcrypt
Passwords should never be stored as plain text.
bcrypt securely hashes passwords before storing them in the database.
const salt =
    await bcrypt.genSalt(10);

const hashedPassword =
    await bcrypt.hash(
        req.body.password,
        salt
    );
Even if the database leaks, original passwords remain protected.
User Registration
router.post('/register',
async (req, res) => {

    const hashedPassword =
        await bcrypt.hash(
            req.body.password,
            10
        );

    const user = new User({
        username: req.body.username,
        email: req.body.email,
        password: hashedPassword
    });

    await user.save();

    res.status(201).json(user);
});
Creating JWT Tokens
After successful login, the server generates a JWT token.
const token = jwt.sign(

    {
        id: user._id
    },

    process.env.JWT_SECRET,

    {
        expiresIn: '3d'
    }
);
The secret key signs the token and prevents forgery.
User Login
router.post('/login',
async (req, res) => {

    const user =
        await User.findOne({
            email: req.body.email
        });

    const validPassword =
        await bcrypt.compare(
            req.body.password,
            user.password
        );

    if (!validPassword) {
        return res.status(400)
            .json('Wrong password');
    }

    const token = jwt.sign(
        { id: user._id },
        process.env.JWT_SECRET
    );

    res.json({
        accessToken: token
    });
});
Protecting Routes with Middleware
Protected routes require token verification middleware.
function verifyToken(
    req,
    res,
    next
) {

    const authHeader =
        req.headers.authorization;

    if (!authHeader) {
        return res.status(401)
            .json('Unauthorized');
    }

    const token =
        authHeader.split(' ')[1];

    jwt.verify(
        token,
        process.env.JWT_SECRET,
        (err, user) => {

            if (err) {
                return res.status(403)
                    .json('Invalid token');
            }

            req.user = user;

            next();
        }
    );
}
Using Protected Routes
router.post(
    '/posts',
    verifyToken,
    async (req, res) => {

        const post =
            new Post({
                title: req.body.title,
                author: req.user.id
            });

        await post.save();

        res.json(post);
    }
);
Only authenticated users can now access this route.
Best Practices
- Never store plain passwords
- Use strong JWT secret keys
- Set token expiration times
- Use HTTPS in production
- Validate incoming data
- Protect sensitive routes
Conclusion
JWT authentication is one of the most important security systems in modern backend development.
By combining bcrypt password hashing with JWT verification middleware, developers can build scalable and secure Node.js APIs without relying on traditional server sessions.